25 Affordable DIY Baby essentials You Can Make Effortlesslly.
Last updated on August 2nd, 2025 at 08:48 pm
Discover 25 safe affordable DIY baby essentials—from wipes to sensory toys—plus expert safety tips and step-by-step guides for moms & dads. In this article we’re going to throw pocket friendly golden nuggets so skip the overpriced store-bought gear and make babyhood beautiful, safe, and budget-friendly—right from your home.
Table of Contents
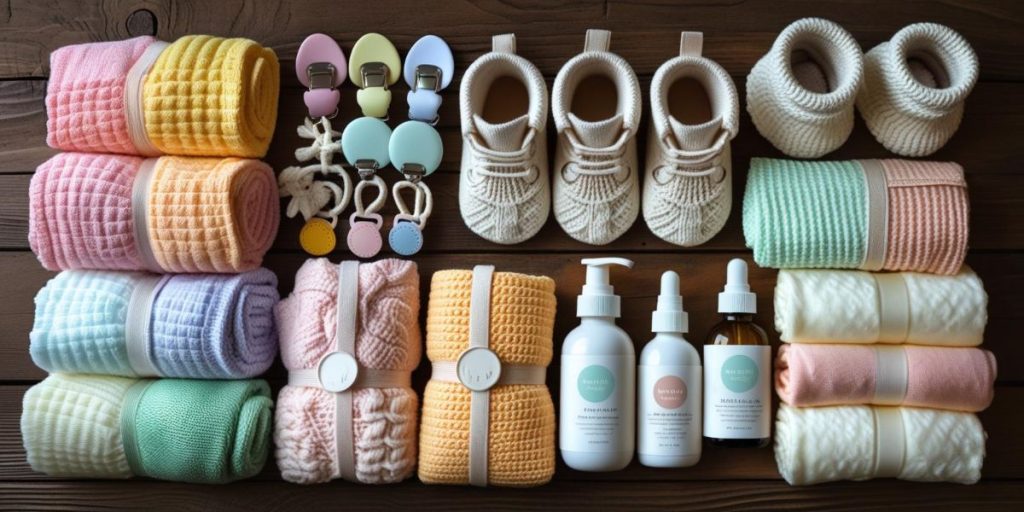
Why Go DIY for Baby Gear?
Let’s face it—raising a baby in every where in the world isn’t cheap. From $20 diaper balms to $10 packs of wipes that disappear in two days, the baby aisle is a money pit. But here’s the good news: you can make many of those same products at home, safer, cleaner, and often better than what’s on shelves.
Whether you’re a crunchy mom, budget-conscious dad, or just love a hands-on project, these DIY baby product ideas will help you save money, reduce waste, and keep your baby surrounded by natural, non-toxic goodness.
Before We Begin: Baby Safety Comes First
DIY doesn’t mean “do whatever.” Here’s what every parent should know:
✅ Skip essential oils under 6 months. They’re too strong—even the “baby-safe” ones.
✅ No DIY sleep gear. No wedges, loungers, or pads. The only safe sleep space is a firm, flat crib or bassinet.
✅ Use food-grade, fragrance-free ingredients for anything touching baby’s skin or mouth.
✅ Sterilize jars, bottles, and cloth before use.
Recent federal rules on infant products remind us that anything that touches or supports a baby must meet strict safety benchmarks:
Pro tip: Test every lotion, balm, or detergent on a dime-sized patch of your own inner arm first; if it stings you, it’s too harsh for baby.
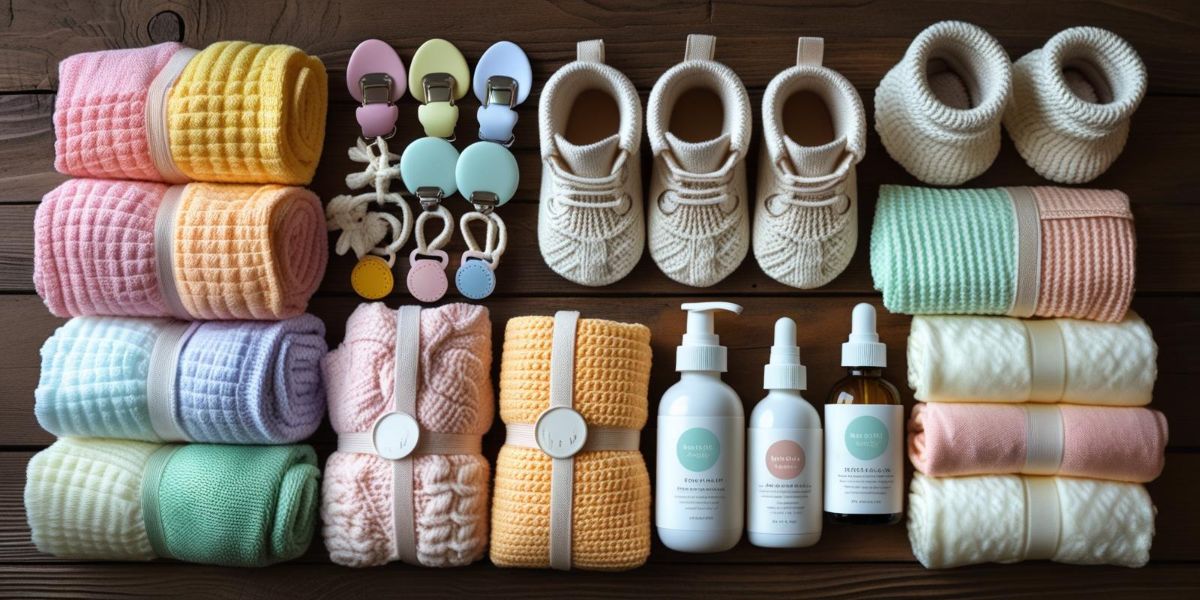
Affordable DIY baby Essentials Starter Kit
What You’ll Need to Get Started
- Organic shea butter, coconut oil, beeswax pellets
- 100% cotton or bamboo fabric (recycled or new)
- Food-grade silicone beads (for toys)
- Natural soap (Castile or baby-safe)
- Glass jars with lids, spray bottles, muslin bags
- A little patience and a lot of love
1. Homemade Baby Wipes That Actually Work
No weird chemicals. No drying alcohol. Just clean and gentle.
What You Need:
- 1 roll Bounty paper towels (cut in half)
- 1 cup warm filtered water
- 1 tbsp organic coconut oil
- 1 tbsp baby-safe liquid soap
- Optional: 1 drop chamomile or lavender EO (skip if under 6 months)
How To:
Mix liquids, pour over the paper towel in a sealed container. Boom—400 wipes for the cost of your coffee.
2. Whipped Diaper Cream (No Sticky White Mess)
Say goodbye to the thick, chalky zinc paste. This balm melts into skin and calms redness fast.
What You Need:
- 1/2 cup shea butter
- 1/4 cup coconut oil
- 2 tbsp beeswax pellets
- 1 tbsp zinc oxide (non-nano, cosmetic grade)
- Optional: 1 tsp calendula oil
Whip it Good:
Melt shea, coconut, and beeswax. Cool slightly. Stir in zinc oxide. Use a hand mixer to whip until fluffy. Store in a small jar.
3. Gentle Baby Shampoo + Body Wash
One bottle. No sulfates. No tears.
Ingredients:
- 1/4 cup unscented liquid Castile soap
- 1/4 cup aloe vera gel
- 1 tsp vegetable glycerin
- 1 cup distilled water
Make It:
Mix everything in a foaming pump bottle. Shake before each use. Lathers softly, rinses clean, and smells like…nothing (because that’s better for baby).
4. Reusable Cloth Wipes (Way Softer Than Store Brands)
No sewing machine? No problem. Cut flannel squares (8×8″) with pinking shears to prevent fraying. Wash, reuse, repeat.
Bonus: Use your wipe solution (from recipe #1) in a spray bottle. Spray, wipe, toss in the wash.
5. Organic Oatmeal Bath Sachets
Perfect for itchy skin, eczema, or just a calming bedtime soak.
How-To:
Grind 1 cup organic oats in a blender. Scoop into muslin bags or clean socks. Tie and toss into bath water. That’s it. No soap needed.
6. Silicone + Wood Teething Ring (That Doesn’t Look Cheesy)
What You Need:
- 1 wooden ring (unfinished birch or maple)
- Food-grade silicone beads (1/2″–1″)
- Nylon cord or teether-safe string
Thread beads through cord, tie securely around the ring, and seal with a safe knot. Chill for teething relief. Looks chic, too.
7. Crinkle Tag Sensory Toy
Stimulate baby’s senses without flashy plastic toys.
What You Need:
- Two 8″x8″ cotton fabric squares
- One piece of clean chip bag or cereal liner (crinkle sound!)
- Ribbon tags
Make It:
Layer fabric + crinkle inside, sew three sides, turn right-side out, sew shut. Done in under 30 minutes.
8. Upcycled T-Shirt Bibs
Turn dad’s old college tees into stylish bibs. Trace a bib template onto soft cotton, sew two layers together, and add a snap or Velcro closure.
Pro tip: Use water-resistant backing (like PUL fabric) for extra protection.
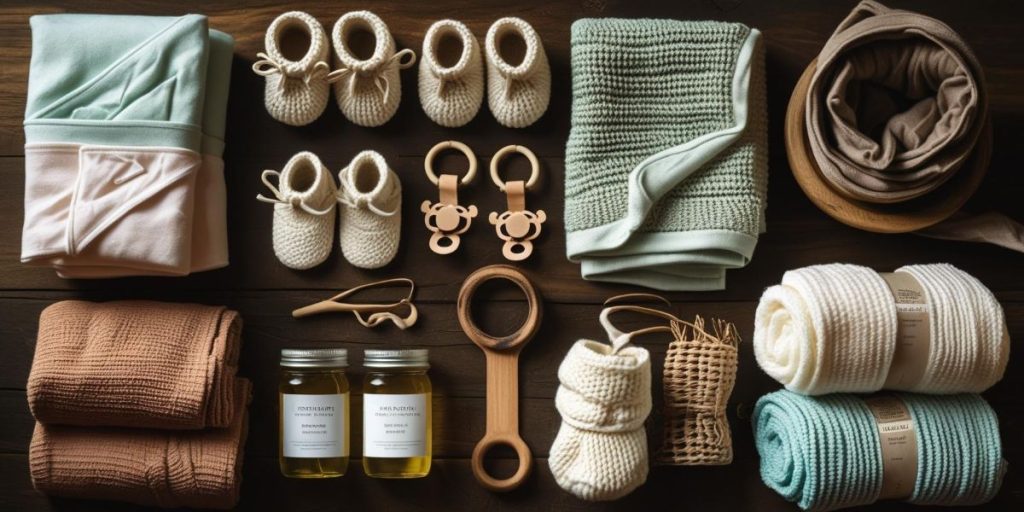
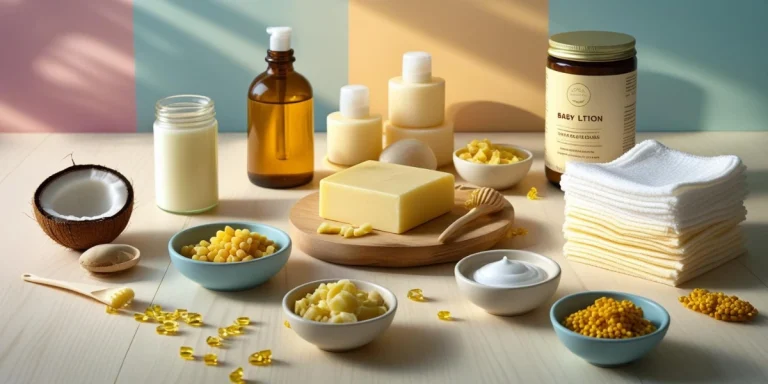
9. DIY Baby Lotion Bars
Great for winter skin, diaper bag touch-ups, or even dry mama hands.
Ingredients:
- 1/3 cup beeswax
- 1/3 cup shea butter
- 1/3 cup coconut oil
- Optional: 1 tsp calendula or almond oil
Melt, pour into silicone molds, cool, pop out. Done. Keeps for months.
10. Natural All-Purpose Baby Spray
Clean everything from toys to highchairs.
Ingredients:
- 1 cup distilled water
- 1 tbsp baby-safe Castile soap
- 1 tbsp white vinegar (skip on sensitive surfaces)
- Optional: lemon EO for scent (if baby’s older)
Mix, spray, wipe. Fresh + simple.
11. Reusable Nursing Pads
Why they rock: Ultra-absorbent, breathable, and they don’t crinkle like the disposables.
| Materials | Qty | Notes |
|---|---|---|
| Bamboo fleece | 2 circles (4½″ dia.) | The absorbent core |
| Cotton flannel | 2 circles (4½″ dia.) | Soft skin side |
| PUL fabric (optional) | 1 circle (4½″ dia.) | Waterproof barrier |
| Sewing machine + zig-zag stitch | — | Hand-sew if you must |
Steps
- Stack layers: flannel (pretty side down) → bamboo → PUL → flannel (pretty side up).
- Zig-zag around the edge twice for leak-proof sealing.
- Wash hot before first use; tumble dry.
Cost: ≈ $0.35 per pad (store pads run $0.25 each—then you toss them).
12. Foldable Changing Mat
Fast facts: Rolls up like a burrito, wipes clean in seconds.
You’ll need
- 20″ × 28″ rectangle of wipe-clean PUL or oilcloth
- 20″ × 28″ rectangle of quilted cotton (cushion side)
- 18″ length of ½″ elastic or Velcro® strip
Assembly
- Place fabrics right-sides together, stitch all sides leaving a 4″ gap.
- Turn right-side out, top-stitch the perimeter.
- Sew elastic to one short edge, so it wraps closed when rolled.
Pro tip: Add a hidden pocket for a spare diaper and travel wipes so you never leave the house half-packed.
13. Black-and-White Baby Flash Cards
Why it matters: High-contrast images boost newborn visual development.
Supplies
- Heavy white cardstock, cut to 4″ × 6″
- Black acrylic paint or broad Sharpie®
- Hole punch + 2″ binder ring
How-to
- Paint big geometric shapes—circles, stripes, checkerboards.
- Let dry, punch corner holes, and snap onto the ring.
- Clip to the car seat or prop during tummy time.
14. Montessori Sensory Ball (Puzzle Ball)
A classic grasp toy—now custom-made to match your nursery.
| Materials | Qty |
|---|---|
| Cotton prints | 3 fat quarters |
| Poly-fil stuffing | 1 cup |
| Basic needle & thread / machine | — |
Make it
- Cut 12 orange-slice-shaped petals (download free pattern templates online).
- Fold each petal, sew down curved edge, stuff lightly.
- Hand-stitch three petals into a “C.” Make four sets, then stitch sets together into a sphere.
Baby can grip, mouth, and roll the ball—all milestones in one toy.
15. Keepsake Growth-Chart Ruler
Pinterest-worthy and cheaper than the $80 store version.
Ingredients
- 6-foot pine board (1″ × 8″)
- Water-based stain + clear sealer
- Painter’s tape + 1″ number stencils
- Fine-tip wood-burning pen (or black paint pen)
Directions
- Sand board smooth; stain, let dry.
- Tape off 1″ hash marks and burn or paint them.
- Add large numbers at each foot mark.
- Seal with a kid-safe polycrylic. Hang 6″ off the floor for accuracy.
16. Baby-Food Ice Cubes
Perfect portions, zero jar waste.
What you need
- Silicone 1-ounce freezer tray with lid
- Steamed fruit/veggie purée
- Permanent marker for labeling
Method
- Fill tray, snap on lid, and freeze.
- Pop out cubes into dated zip bags; thaw overnight in the fridge.
- Mix & match flavors—sweet-potato + apple is a fan favorite!
17. Baby-Safe Crib Mobile
Soft, silent, and dreamy—not the noisy plastic kind.
Supplies
- Felt sheets (clouds, stars)
- Polyester stuffing
- 12″ wood dowel + cotton string
- Embroidery needle
Steps
- Cut two identical shapes for each cloud, blanket-stitch edges, stuff lightly.
- Knot string at varying lengths, attach shapes.
- Balance dowel like a mini clothesline, tie a ceiling-hook loop at center.
- Hang outside baby’s reach, at least 12″ above the mattress.
18. Breastmilk Soap Bars
Yes, really—ultra-gentle and loaded with antibodies.
| Ingredients | Qty |
|---|---|
| Frozen breastmilk (thawed) | 8 oz |
| Melt-and-pour goat-milk soap base | 16 oz |
| Silicone bar mold | — |
How-to
- Cube and melt soap base in a microwave-safe bowl (30-sec bursts).
- Cool to ≤ 110 °F; whisk in breastmilk slowly (prevents separation).
- Pour into molds, spritz with rubbing alcohol to reduce bubbles.
- Cure in fridge 2 hrs; air-dry 24 hrs before use.
19. DIY Milestone Blanket
Monthly photos = instant Instagram gold.
Materials
- 40″ × 60″ white muslin blanket
- Heat-transfer vinyl numbers + “weeks / months” text
- Cricut® (or iron-on letters)
- Iron / heat-press
Steps
- Arrange numbers 1–12 in a clock layout.
- Press vinyl per package temps (usually 305 °F, 15 sec).
- Sew a felt ring or arrow to outline the current month.
20. Heirloom Memory Box
Turn a plain craft store box into a time capsule.
You’ll need
- Unfinished wood box with hinged lid
- Acrylic paint or wood stain
- Acid-free photo corners + envelopes
- Mod Podge® to seal
Create
- Paint or stain box; let dry.
- Decoupage baby photos on the inside lid.
- Add labeled envelopes: “First Haircut,” “Hospital Bracelet,” etc.
21. Wipe-Warmer Hack
Warm cloth wipes = zero late-night shrieks.
How
- Plug in a mini slow cooker on “Warm.”
- Stack damp cloth wipes inside, lid on.
- Unplug after each change to avoid overheating.
Energy-efficient, stays at baby-safe temps (~100 °F).
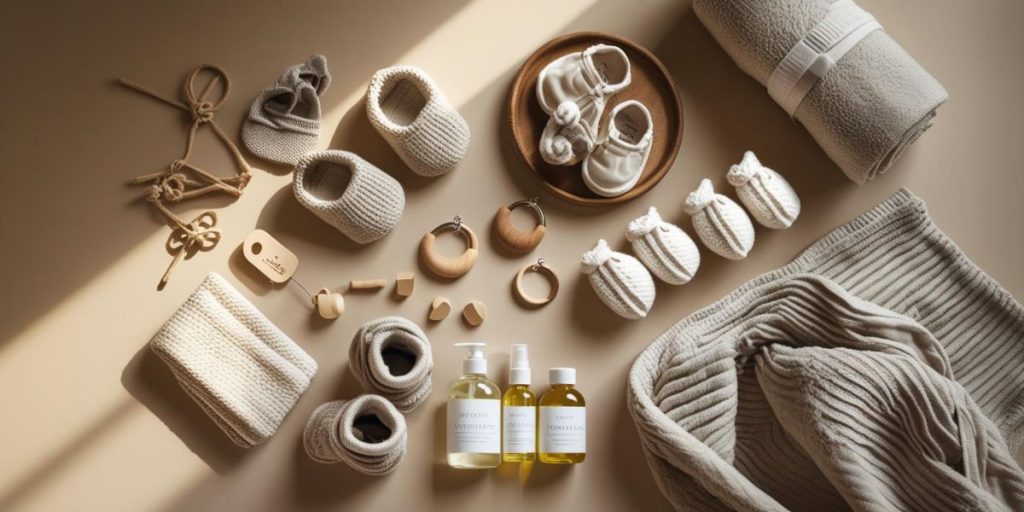
22. Portable Nursing Cover
Because hungry babies can’t wait.
Materials
- 30″ × 36″ lightweight cotton (breathable)
- 17″ piece of boning (for peek-a-boo arc)
- 2 D-rings + strap fabric
Build
- Hem all sides.
- Create 1″ casing on top edge; insert boning.
- Sew 24″ neck strap with D-ring adjuster to one corner.
Rolls tiny; doubles as stroller sunshade.
23. Soothing Bottom Spray
Cooling relief between wipes for diaper rash.
| Ingredients | Amount |
|---|---|
| Calendula tea (strong brew) | ½ cup |
| Alcohol-free witch hazel | ½ cup |
| 1% vegetable glycerin | 1 tsp (optional) |
Mix & Use
Combine in 4-oz amber spray bottle, shake before each spritz. Shelf life: 1 week refrigerated.
24. Teething Pops
Frozen, mess-free teething magic.
- Blend 1 ripe banana + 4 oz breastmilk (or formula).
- Pour into mini silicone pop molds; freeze 4 hrs.
- Hand baby a chilled pop—relieves gums and sneaks in nutrients.
25. Love Notes Soft Book
A squeezable story of first-year memories.
Supplies
- 8 squares cotton fabric (6″ × 6″)
- Lightweight batting
- Fabric markers / scrap felt letters
- Sewing machine
Make
- Layer two squares right-sides together with batting on top.
- Stitch, flip, top-stitch; repeat for all pages.
- Write or appliqué a tiny “I love you” message on each page.
- Stack pages, sew down the center spine.
Baby can chew, crinkle, and cuddle—while you preserve sweet words forever.
Cost & Time Snapshot
| Project | Avg. Cost | Time to Make |
|---|---|---|
| Baby Wipes | $3 | 10 min |
| Diaper Balm | $4 | 15 min |
| Cloth Inserts | Free–$5 | 30 min each |
| Crinkle Toy | $2 | 20 min |
| Growth Chart | $12 | 1 hr |
SEO FAQ (People Also Ask)
Is it safe to use homemade baby products?
Yes—if you follow CPSC sleep guidelines, AAP food-safety tips, and stick to food-grade ingredients. cpsc.govaap.org
Do DIY baby wipes really save money?
A single $3 recipe yields roughly 400 wipes—store brands average $0.04 each, so you cut costs by ~73%.
Which essential oils are okay for babies?
Under six months, skip EOs altogether. After six months, diluted lavender or chamomile at 0.25% max is considered gentle by most pediatric aromatherapists.
Can I sell my DIY baby products?
In the U.S., anything applied to skin becomes a “cosmetic” under FDA law. You’ll need proper labeling, CPSIA testing for toys, and potentially insurance. Consult an attorney before selling.


